Auto Allocation in Ticketing & Messaging enables you to auto allocate tickets to agents to make sure the workload is distributed optimally. Once tickets are auto-allocated, agents do not need to pick up tickets manually. You can define allocation rules of how tickets are assigned to agents and the maximum tickets an agent can accept automatically.
How does Auto Allocation work?
Auto allocation happens only on newly created tickets. If the same ticket needs to be allocated to another agent, then you can do it manually.
Tickets are auto allocated only to agents with Online status. However, agents can stop the flow of allocated tickets by changing their status to either Away or Offline.
Once tickets are allocated before the allocation rule is set up, they cannot be auto allocated again irrespective of the ticket's status. Only agents who have the permission can manually assign those tickets to the agent or re-assign them to another agent.
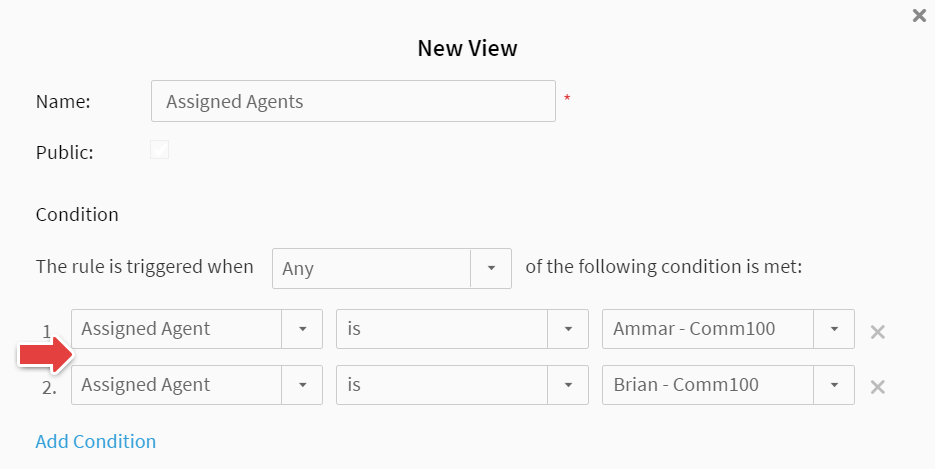
Where to see assigned tickets?
Only agents who have the permission can see tickets allocated to agents by setting up the Views with Assigned Agent condition in the Agent Console.
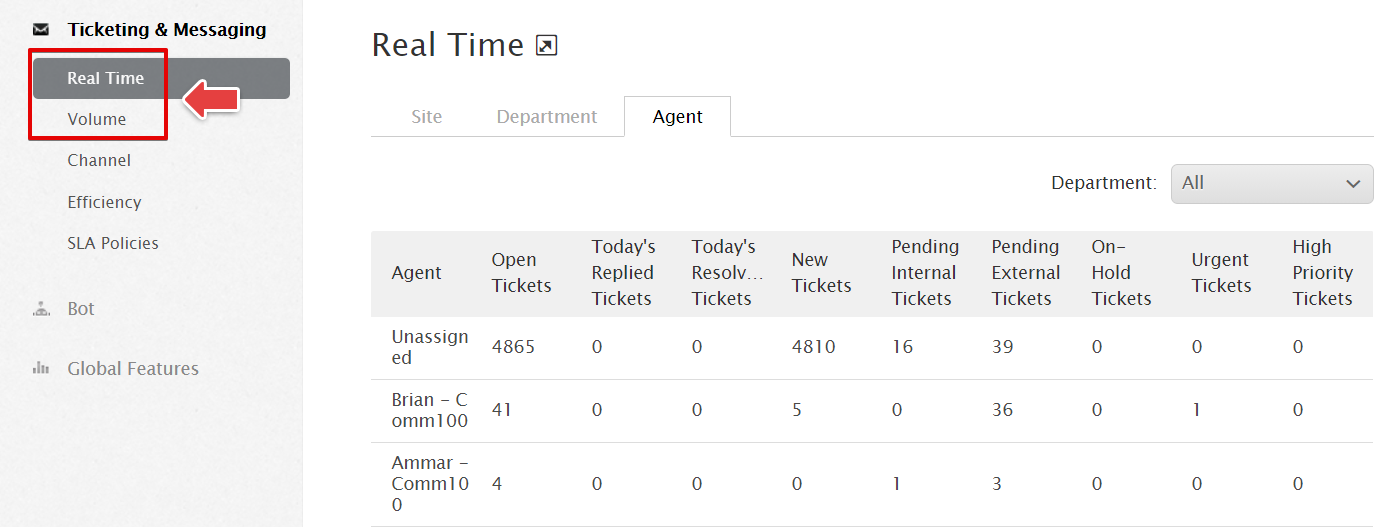
Moreover, the agent can also view Real Time and Volume report by Agent under Reporting > Ticketing & Messaging from the Comm100 Control Panel to view the number of unassigned and allocated tickets for each agent.
Note: Allocation and Views in the Agent Console are different features. Allocation automatically assigns the tickets to agents, whereas you create Views for Assigned Agents.
How can agents manage their tickets during shifts?
In some cases, agents work in shifts. They continue to get applicable tickets as per their maximum ticket capacity during their shift as long as their status is Online. They can switch their status to Away to stop the new unassigned tickets from being auto allocated during the end of their shift.
For tickets that require Urgent or High priority resolution, agents can manually allocate the currently assigned tickets to someone available in the shift to have a quicker response time and higher customer satisfaction.
Note: Tickets already assigned will not be auto assigned again.
What happens if all agents go “Offline” or “Away”?
If all agents go Away or Offline at a given time, New tickets will be auto allocated after agents become Online. There is no time lag for the allocated tickets to push out to agents. As long as new tickets and agents do not reach their maximum ticket count, the ticket will be auto-pushed out to the Online agent. When all agents reach their capacity, then New tickets will be in a ticket queue waiting for an allocation to the Online agents when their capacity becomes available.
Note: You can also manually allocate tickets regardless of the agent's status.
Auto Allocation Rules
Comm100 Ticketing & Messaging follow two types of auto allocation rules—Load Balancing and Round Robin. Load balancing auto allocates ticket requests to the agent who has the least number of tickets at the present time, while Round Robin allocates them to agents one after the other based on the order they get online.
Step by Step Instructions
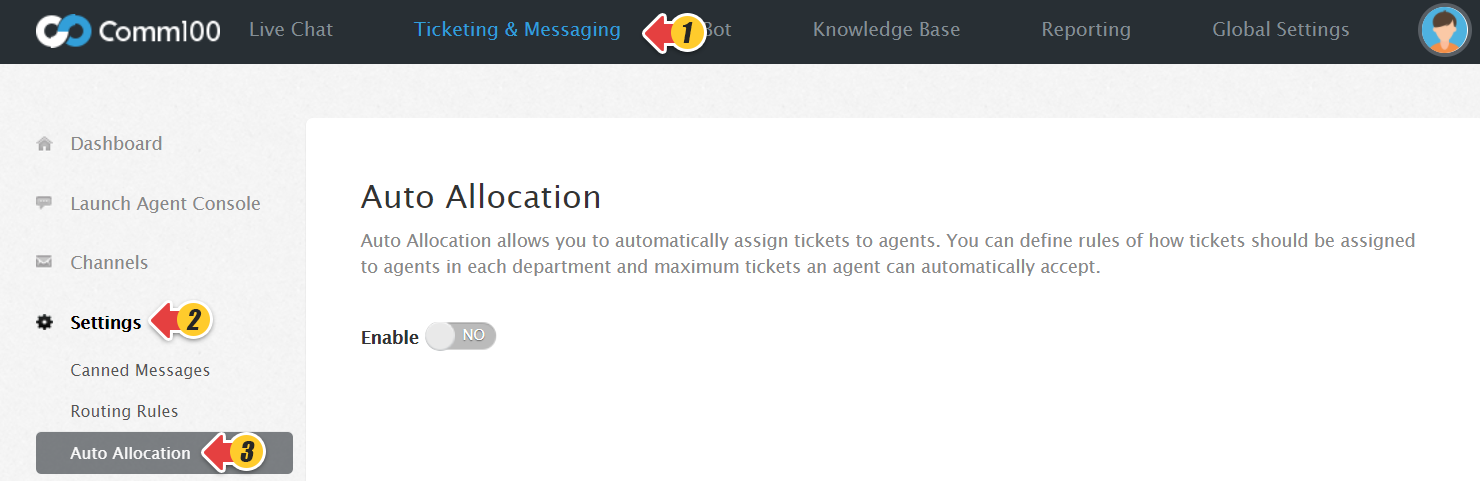
- Log in to the Comm100 Control Panel.
- From the top navigation bar, click the Ticketing & Messaging tab.
- From the left navigation menu, go to Settings > Auto Allocation.
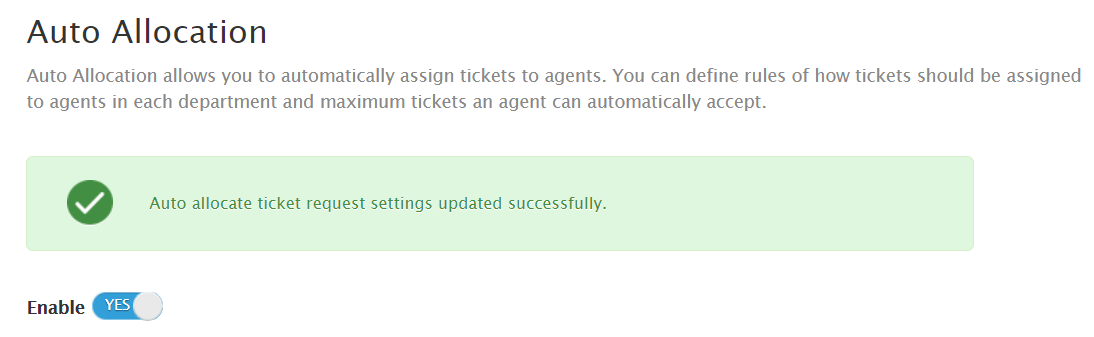
- On the Auto Allocation page, turn the Enable toggle key to YES.
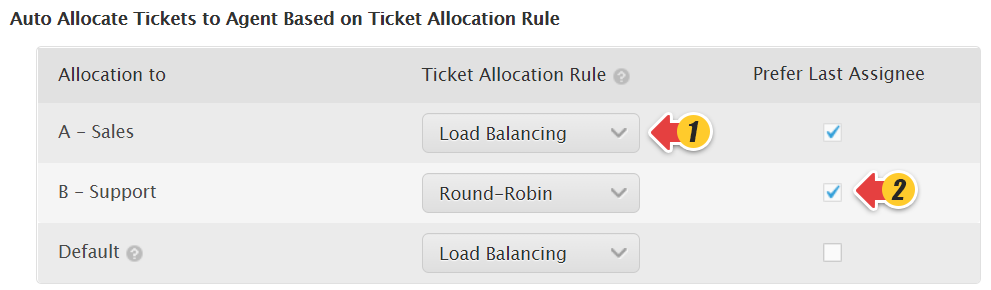
The following sections appear on the page:- Auto Allocate Tickets to Agent Based on Ticket Allocation Rule
- Maximum Number of Auto Accepted Tickets
- Excluded Status
- In the Auto Allocate Tickets to Agent Based on Ticket Allocation Rule section, you can do the following:
- Select the ticket Allocation Rule for each Department or your account if you haven't set up the Department yet.
- Select the check box if you prefer assigning the tickets to their last assignee.
- Select the ticket Allocation Rule for the Default settings. When tickets are not assigned to any department, the ticket will be auto allocated to agents based on the Default rule.
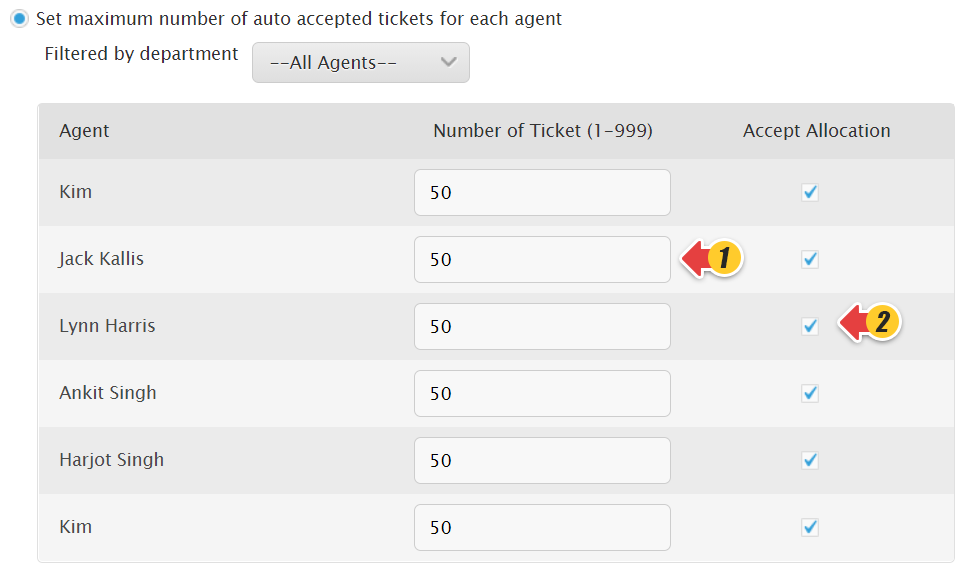
- In the Maximum Number of Auto Accepted Tickets section, you can do one of the following:
- Set the maximum number of auto-accepted tickets for all agents.
- Set the maximum number of auto-accepted tickets for each agent.
- Select the check box if you want to accept allocation for individual agents.
- You can also filter the agents by the department.
- Set the maximum number of auto-accepted tickets for all agents.
- You can select tickets for Pending External or On Hold or both statuses in the Excluded Status section.
Tickets marked with both statuses are not counted when the Comm100 Ticketing & Messaging verify if an agent has reached their predefined maximum number of tickets. - Click Save.
Congratulations, you have successfully set up Auto Allocation. Your tickets will be automatically assigned to the agents.