Categories help you segregate intents and group them into a specific type. You can arrange intents related to a topic or feature under one category for organizing them well and for ease of use.
For example, while creating intents, you may bundle specific intents related to subscription under a subscription category.
Default categories
Comm100 provides the default categories—System and Smalltalk in the root folder. While creating new intents, you may choose any of the existing categories or create a new one.
The system category helps the user navigate the bot, like:
- Menu
- Help
- Bot info
- start over
- Feedback
- Human
The Smalltalk category has intents that are not directly related to bot function. However, they are essential to user engagement, like:
- Hello
- Good morning
- How are you
- Goodbye
- Goodnight
- Thank you
Note:
- You cannot move, edit, or delete the root folder or category.
- Ensure that the names of categories should be unique.
Creating a new category
You can create a new category in two ways:
- On the Intents page
- While creating an intent
Creating a new category on the Intents page
To create a new category on the Intents page, follow these steps:
- Log in to your Comm100 Control Panel.
- From the left navigation menu, go to Bot > Chatbot
- Select your chatbot from the drop-down list and click Intents.
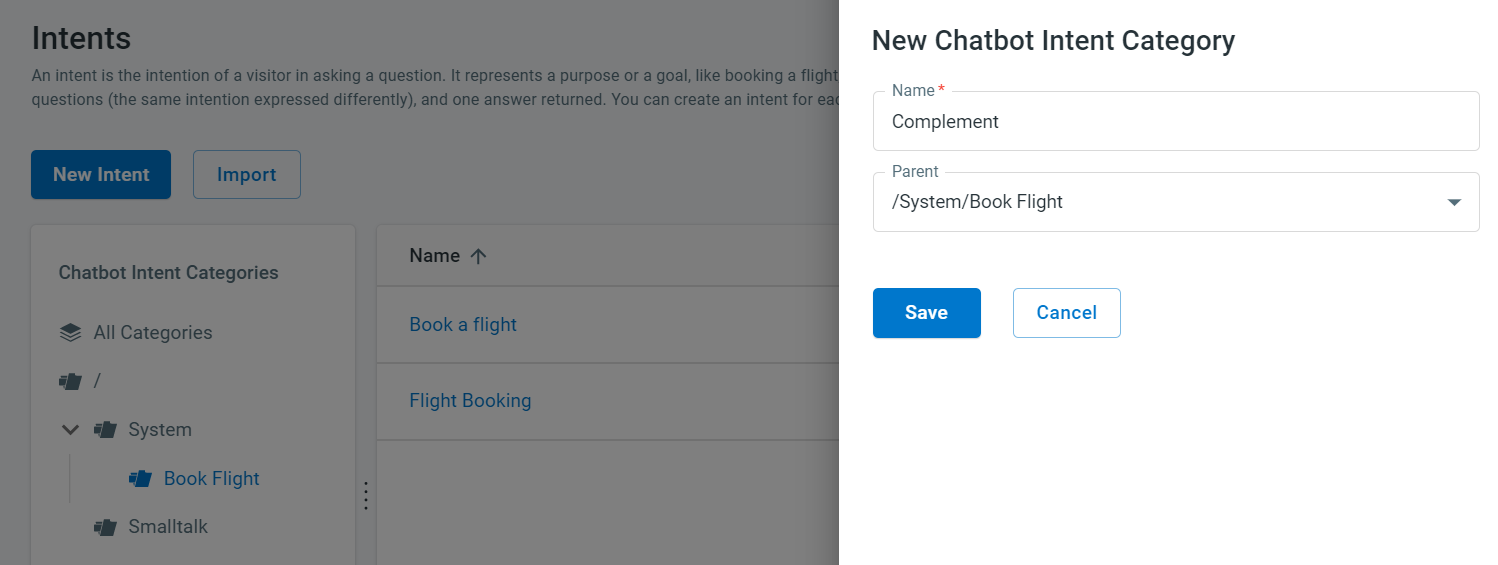
- On the Intents page, hover the cursor on the Folder icon and click the Add icon.
A New Chatbot Intent Category drawer appears. - In the Name field, enter the name of the category.
- From the Parent drop-down list, select a parent category.
- Click Save.
A new category is created under the CATEGORY tree view.

Creating a new category while creating an intent
To create a new category while adding intents, follow these steps:
- Log in to your Comm100 Control Panel.
- From the left navigation menu, go to Bot > Chatbot
- Select your chatbot from the drop-down list and click Intents.
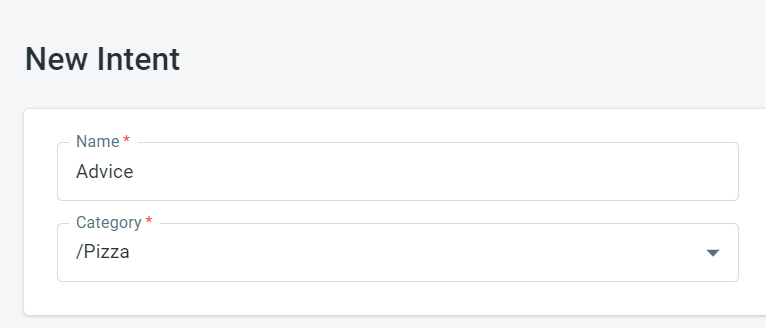
- On the Intents page, click New Intent.
- On the New Intent page, do the following:
- In the Name field, enter the name of the category.
- From the Category drop-down list, select a parent category.
- Click Save.
The category is listed in the Category drop-down list.
Editing categories
To edit an existing category, follow these steps:
- Log in to your Comm100 Control Panel.
- From the left navigation menu, go to Bot > Chatbot
- Select your chatbot from the drop-down list and click Intents.
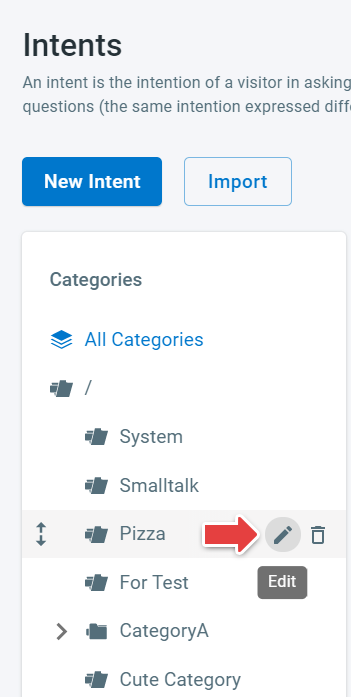
- On the Intents page, do the following:
- Hover your cursor on the CATEGORY tree view.
- Select a category and click the Edit icon.
The Edit Category drawer appears. - Edit the name of a category.
- Click Save.
Deleting categories
To delete an existing category, follow these steps:
- Log in to your Comm100 Control Panel.
- From the left navigation menu, go to Bot > Chatbot
- Select your chatbot from the drop-down list and click Intents.
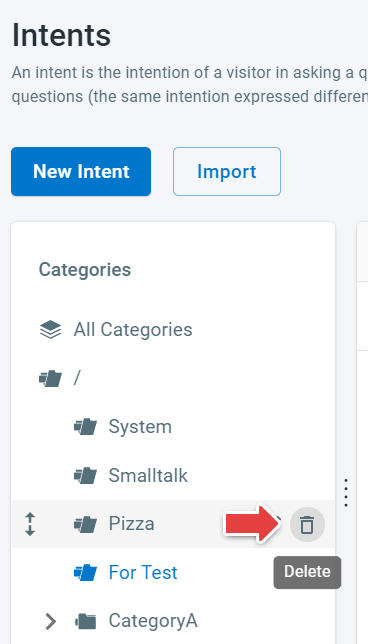
- On the Intents page, hover your cursor on the CATEGORY tree view.
- Click the Bin icon.
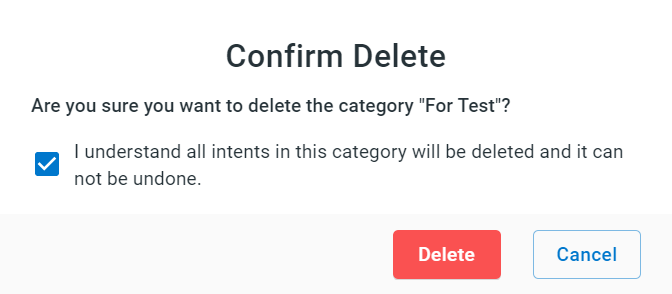
A Confirm Delete pop-up appears. - Confirm your deletion by select the check box.
- Click Delete.